Contents:
- Why Layer Your Hair at Home?
- Essential Tools for Cutting Layers
- Preparing Your Hair Before You Cut
- Understanding Hair Growth Patterns
- The Cutting Techniques for Layers
- Point-Cutting Technique
- Slice-Cutting Technique
- The Step-by-Step Layering Process
- Step 1: Cut the Foundation Length
- Step 2: Create Your Layer Angles
- Step 3: Check Your Work
- Step 4: Repeat on the Other Side
- Step 5: Blend and Refine
- Regional Variations in Layer Styles
- What the Pros Know
- Common Mistakes to Avoid
- Cutting While Hair is Soaking Wet
- Working Without Proper Sections
- Trying to Cut All Length at Once
- Neglecting the Back of Your Head
- Styling and Maintaining Your Layers
- Troubleshooting Uneven Layers
- FAQ: Common Questions About Cutting Layers at Home
- Can I cut layers if my hair is curly?
- How often should I cut layers myself?
- What if I make a serious mistake?
- Do I need to cut my own bangs/fringe?
- Is there a best season for cutting layers at home?
- Next Steps: Building Your Confidence
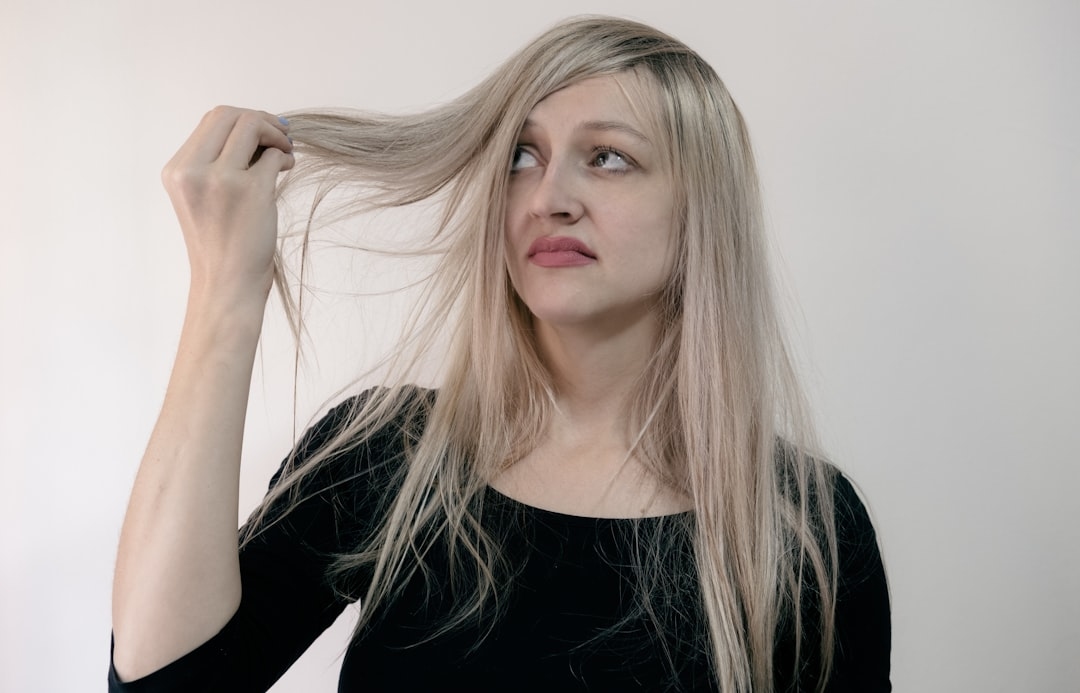
You’re standing in the bathroom, scissors in hand, staring at your reflection and wondering if you’ve lost your mind. The salon appointment cost £60 again. Your hair’s been the same flat, heavy style for months. Suddenly, the idea strikes: what if you could add texture and movement yourself? This is where layering comes in—and yes, you absolutely can learn how to cut your own hair in layers at home.
The truth is that layering hair isn’t as intimidating as it sounds. Thousands of people successfully cut their own layers every year without any professional training. What separates the good results from the wonky ones isn’t talent or luck—it’s understanding the fundamental techniques, having the right tools, and following a methodical approach. This guide walks you through everything you need to know.
Why Layer Your Hair at Home?
Layered hair creates volume, movement, and texture that many people desperately want but feel they can’t afford. A professional layer cut in the UK typically runs £40-80 depending on your salon and stylist. If you get that cut every 6-8 weeks, you’re spending £300-400 annually just on maintenance. Beyond cost, there’s a practical advantage: you control the exact amount of layering and texture you want.
Layering works for nearly every hair type and face shape. Fine, thin hair gains volume. Thick, dense hair loses bulk. Wavy and curly hair gets enhanced definition. Straight hair gets movement and texture. The key is adapting the technique to your specific needs rather than following a one-size-fits-all approach.
Essential Tools for Cutting Layers
The most common mistake people make when cutting their own hair is using dull scissors. Kitchen scissors, craft scissors, and even “hair scissors” from discount shops tear hair rather than cut it cleanly. This causes split ends and a rough, uneven appearance. Professional shears cost £15-30 from reputable suppliers and make an enormous difference.
You’ll need:
- Professional hair shears: Look for stainless steel, 5.5-6 inch length. Brands like Kasho, Kamisori, or even budget options like Revlon Professional work well for home use.
- Spray bottle: Keep hair damp throughout cutting. Damp hair is easier to work with and reveals the true length.
- Sectioning clips: 4-6 clips keep sections separate. Regular hair clips work fine.
- Wide-tooth comb: For detangling and sectioning without breakage.
- Mirror: A handheld mirror is crucial for checking the back. Position it at a 45-degree angle to see how layers blend.
Avoid scissors marketed specifically as “self-cutting” scissors. These typically have less precision and won’t perform as well as proper shears.
Preparing Your Hair Before You Cut
Proper preparation determines roughly 40% of your success. Start with hair that’s one day past washing—fresh clean hair is too slippery and stretches more, while slightly dirty hair has better grip and texture.
Section your hair methodically. The standard method uses 4-6 sections:
- Create a center part from forehead to the nape of your neck.
- Create a horizontal part from ear to ear across the crown.
- Divide each quadrant with additional vertical sections as needed.
Spray each section with water until damp but not dripping. Soaking wet hair is harder to control; damp hair holds its shape better for cutting. Hair stretches approximately 15% more when wet, so you’ll want some moisture to see the true final length, but not so much that it’s unmanageable.
Understanding Hair Growth Patterns
Most people have slightly different growth patterns on each side of their head. The back often grows faster or has a natural curve. The sides may be thicker or thinner. Before cutting, spend 5 minutes observing your hair’s natural direction and growth pattern. Cutting against these patterns creates tension and uneven results.
The Cutting Techniques for Layers
Two primary techniques create layers: point-cutting and slice-cutting. Understanding when to use each makes an enormous difference.
Point-Cutting Technique
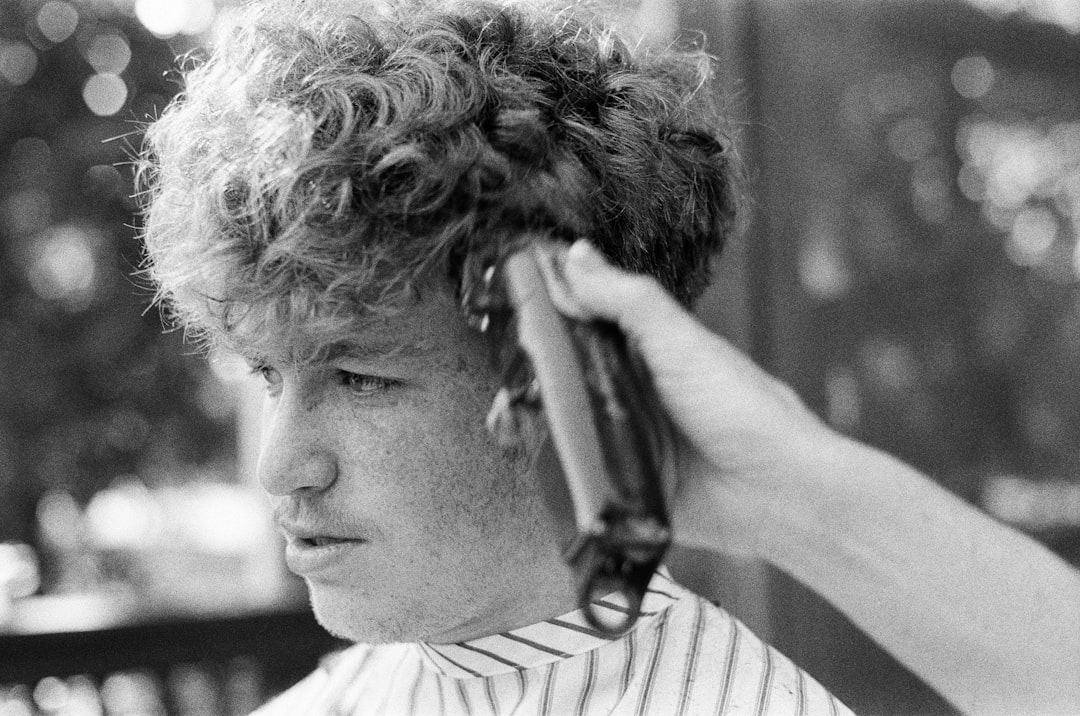
Point-cutting involves holding shears vertically and cutting into the hair at the ends, removing small amounts at a time. This technique creates choppy, textured layers with movement. It’s gentler on hair and easier for beginners because you have more control.
Hold a section straight out from your head at a 45-degree angle. Position your shears vertically (blades pointing downward) and make small cuts into the ends. Don’t cut parallel to the hair—cut into it at an angle. This creates texture rather than blunt lines. Work your way around the section, removing approximately ¼-inch at a time.
Point-cutting is ideal for wavy, curly, or thick hair because it reduces bulk while maintaining length and texture.
Slice-Cutting Technique
Slice-cutting uses horizontal shear motions along the hair length. Hold a section out at 45-90 degrees and slide the shears along the section while partially closing and opening them. This technique removes more hair and creates smoother, more dramatic layers.
Begin at the outer edge of your section and slice toward the scalp. The angle of the shears determines how much hair you remove: a steeper angle (90 degrees) removes more; a shallower angle (45 degrees) removes less. Make 2-3 passes per section rather than trying to remove all length in one cut.
Slice-cutting works better for fine or straight hair where you want smooth, defined layers without excessive texture.
The Step-by-Step Layering Process
Always start at the bottom and work upward. Your longest layer sets the guide for everything else.
Step 1: Cut the Foundation Length
Take the centre-back section (your longest hair). Decide your desired shortest layer length. A good starting point: cut no shorter than shoulder-length for first attempts. Hold this section straight down and make your first cut horizontally. This is your guide length.
Step 2: Create Your Layer Angles
Move to the next section slightly forward. Hold it at a 45-degree angle and cut to a length approximately 1-2 inches shorter than your guide section. Gradually increase the angle as you move forward and upward around your head. By the time you reach the crown, sections may be held at 90 degrees.
Step 3: Check Your Work
Before moving to the other side, step back and examine your layers. Grab a handheld mirror and check how sections blend. Look for any obvious longer pieces that stick out. It’s easier to remove a bit more now than to try fixing unevenness later.
Step 4: Repeat on the Other Side
Mirror your cutting pattern on the opposite side. Take time with this section—most people rush and end up with one side slightly shorter than the other. Use your first side as a guide and reference frequently.
Step 5: Blend and Refine
Once both sides are cut, walk around your hair with the hand mirror, checking how layers blend from all angles. You’re looking for a smooth graduation from longer to shorter, not obvious steps or gaps. Make small refinements using point-cutting to feather edges where needed.
Regional Variations in Layer Styles
Layering preferences vary significantly across the UK. In London and Southeast England, many people prefer sharp, defined layers with clear separation between lengths—a style influenced by contemporary fashion and celebrity trends. In the Southwest and Wales, softer, more blended layers remain popular, creating flow rather than distinct texture blocks.
In Scotland and Northern England, practical, low-maintenance layers that work with natural curl and texture patterns are favoured. These regional preferences reflect both climate (humidity levels affect how layers sit) and cultural style choices. Understanding what works for your region and climate helps you adapt techniques accordingly.
What the Pros Know
Professional Insider Tip: Stylists check their work constantly by running their fingers through sections and observing how hair falls naturally. After cutting, they spray hair lightly, let it air dry slightly, and cut again if needed. Never assume your wet-hair cut will look the same when dry. Curly hair shrinks up to 30% when it dries; wavy hair contracts 10-15%. Build this into your planning.
Common Mistakes to Avoid
Cutting While Hair is Soaking Wet
Soaking wet hair stretches significantly, making you cut shorter than intended. As hair dries, it retracts, and you’re left with layers that are far shorter than you wanted. Damp hair solves this problem entirely.
Working Without Proper Sections
Cutting random pieces without organized sectioning leads to uneven results. Take the time to clip up sections and work methodically. This adds 10 minutes to your process but prevents frustration.
Trying to Cut All Length at Once
Overly aggressive first cuts are the leading cause of home-cut disasters. Remove about half of what you think you need to remove. You can always cut more, but you can’t put hair back.
Neglecting the Back of Your Head
The back is hardest to see, so people often leave it too long or uneven. Use your handheld mirror religiously. Recruit a friend if possible—a second pair of eyes checking the back eliminates this problem entirely.
Styling and Maintaining Your Layers
Freshly cut layers reveal themselves properly once you’ve styled your hair. Blow-drying with a round brush lifts and shapes layers. Adding texture spray or sea salt spray (£8-12) enhances the layered effect. For natural styling, apply leave-in conditioner to damp hair and let it air dry—layers create natural waves and movement.
Maintain layers by getting a light trim every 8-10 weeks. You don’t need a professional trim; a quick 10-minute session where you simply point-cut the ends maintains the shape without changing the style significantly.
Troubleshooting Uneven Layers
If one side is visibly shorter than the other, don’t panic. Let your hair dry completely and assess the damage. Sometimes it’s less dramatic than it appears when wet. If correction is needed, trim the longer side to match, working conservatively. Small adjustments compound quickly.
If layers are unevenly spaced (some very short, some still quite long with nothing in between), you’ve likely cut too aggressively or skipped intermediate angles. The fix: blend layers by point-cutting intermediate lengths to create smoother transitions.
If hair looks choppy rather than layered, you’ve probably used slice-cutting too aggressively. Next time, prefer point-cutting and make smaller cuts. Point-cutting creates texture; aggressive slice-cutting creates choppiness.
FAQ: Common Questions About Cutting Layers at Home
Can I cut layers if my hair is curly?
Yes, but wait until hair is dry to see the true shape. Cut damp, check when dry, and refine as needed. Curly hair shrinks, so layers appear shorter than they are when wet. Point-cutting works better for curly hair than slice-cutting.
How often should I cut layers myself?
Most people maintain layers every 8-10 weeks with light touch-ups. If you’re gaining confidence, you might cut fuller layers every 12 weeks. Frequent small trims maintain shape better than occasional drastic cuts.
What if I make a serious mistake?
Professional stylists can work with most mistakes—they might recommend a shorter cut overall, a different style, or a temporary fix like layers being shorter than planned. A stylist costs £40-80 to repair, but it’s usually fixable.
Do I need to cut my own bangs/fringe?
Bangs are the trickiest part to cut yourself because they’re so visible and difficult to even out. If you’re new to cutting your own hair, start with layers only and have a professional trim your bangs.
Is there a best season for cutting layers at home?
Humidity affects how layers sit and move. Cut during lower-humidity months (winter in the UK) when hair behaves more predictably. In summer’s high humidity, curly and wavy hair expand unpredictably, making it harder to judge whether your cut is truly even.
Next Steps: Building Your Confidence
Your first layer cut is an experiment. Start conservative, cut less than you think necessary, and style your results with realistic expectations. Each attempt teaches you something about your hair’s texture, growth patterns, and how different techniques affect the final shape. After two or three cuts, you’ll have enough experience to predict results and make confident adjustments.
If you’re genuinely uncertain, film yourself cutting—watching the footage afterward reveals mistakes that are invisible in the moment. Many successful at-home haircutters started exactly where you are now, with uncertainty and scissors. The difference between their results and yours will be patience, methodical technique, and willingness to learn from small mistakes rather than giving up after one imperfect attempt.