Contents:
- The Moment You Decide to Take Action
- Quick Answer Box
- Why People Dye Grey Hair at Home (And Why It Works)
- Understanding Hair Dye Types for Grey Coverage
- Permanent Dyes
- Semi-Permanent Dyes
- Demi-Permanent Dyes
- Choosing Your Colour Shade
- Assessing Your Natural Base Colour
- Cool vs. Warm Tones
- Essential Equipment and Supplies for Home Dyeing
- Preparation: The Steps Before You Open the Dye
- The 48-Hour Patch Test
- Hair Preparation in the Days Before
- Detangle and Section
- Step-by-Step Application Process
- Preparing the Dye Mix
- Applying to Roots First
- Applying to Mid-Lengths and Ends
- Processing Time Management
- Rinsing and Conditioning
- Drying and Final Assessment
- Addressing Common At-Home Dyeing Problems
- Patchy Colour or Incomplete Grey Coverage
- Colour Too Dark or Too Warm
- Damage, Breakage, or Dryness
- Maintaining Your Dyed Grey Hair Between Applications
- Colour-Safe Hair Care Routine
- Sun Protection
- Root Touch-Ups Schedule
- Cost Breakdown: At-Home vs. Salon Dyeing in 2026
- Hair Type Considerations
- Fine or Thin Hair
- Thick or Coarse Hair
- Previously Dyed or Porous Hair
- Textured or Curly Hair
- When to Call a Professional Instead
- Quick Tips for Success
- FAQ Section
- How often can you dye grey hair at home?
- Is it cheaper to dye hair at home than at a salon?
- Can you dye grey hair without damaging it?
- What’s the best dye for covering 100% grey hair at home?
- How long do at-home dyed results last?
- Your First At-Home Dyeing Application Awaits
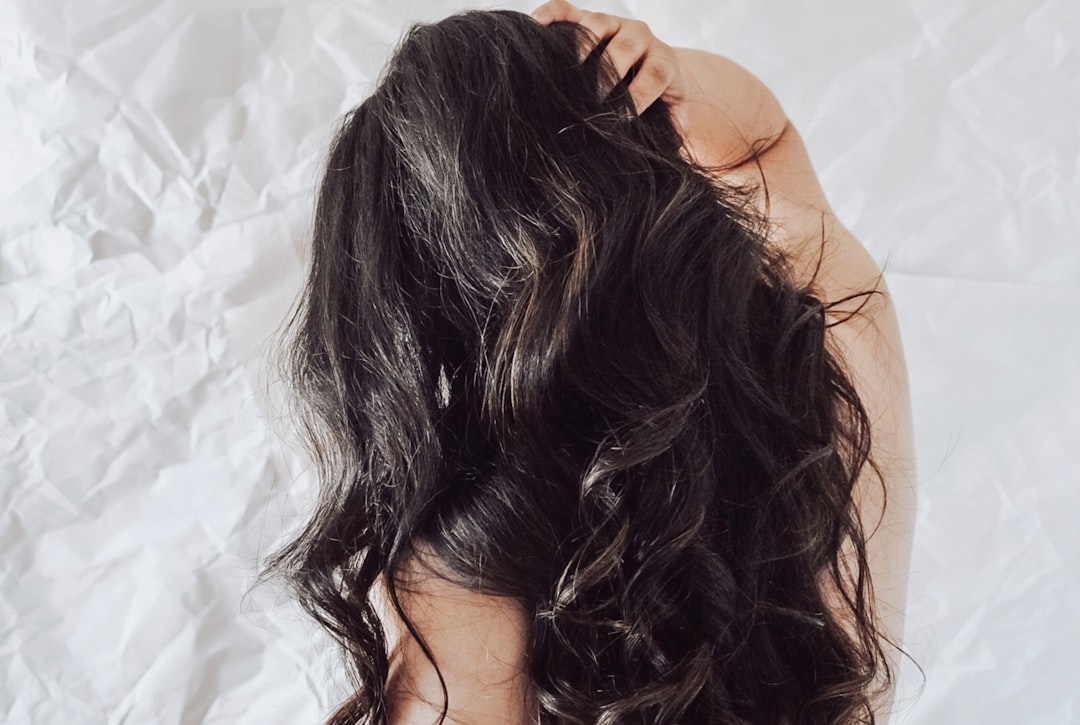
The Moment You Decide to Take Action
You’re standing in front of the mirror one morning, and the silver streaks have multiplied. Maybe it happened gradually, or maybe you’re noticing them for the first time. The thought crosses your mind: should you book an expensive salon appointment, or try dyeing your grey hair at home? In 2026, home hair dyeing has transformed dramatically. Products are safer, instructions are clearer, and the results rival professional outcomes when you know what you’re doing. This guide walks you through every step of how to dye grey hair at home, whether you’re covering your first grey hairs or managing decades of regrowth.
Quick Answer Box
Can you dye grey hair at home? Yes. Modern at-home dyes cover grey effectively. Choose a colour 1-2 shades lighter than your target, do a patch test 48 hours before, apply from roots to ends in sections, and process for the time specified (usually 25-45 minutes). The entire process takes 60-90 minutes. Budget £6-15 per box colour depending on brand. Success requires following instructions exactly and managing hair in sections. First-time users should expect a learning curve of 1-2 applications.
Why People Dye Grey Hair at Home (And Why It Works)
Professional salon colouring costs £45-90 for a single application and requires monthly or bi-monthly maintenance. Home dyeing reduces this to £6-15 per application. For someone covering grey hair every 4-6 weeks, the annual saving reaches £150-300. Beyond cost, home dyeing offers privacy, convenience, and the ability to experiment with colours without commitment.
The science supports home dyeing too. Modern at-home dyes use similar chemistry to salon products. The crucial difference is that professionals apply formulas with strategic precision and timing. At home, you must replicate this precision yourself through preparation, sectioning, and careful application.
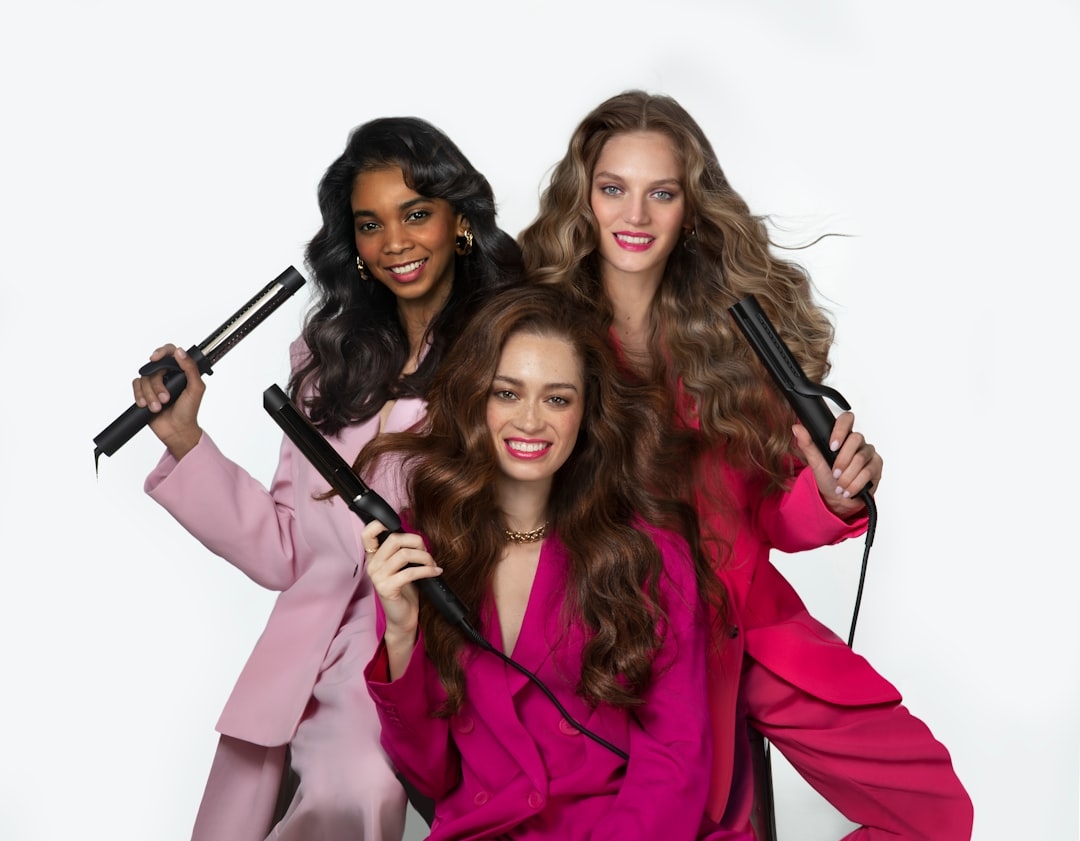
Understanding Hair Dye Types for Grey Coverage
Permanent Dyes
Permanent dyes use ammonia and peroxide to lift the hair’s natural colour and deposit new pigment into the cortex. They provide the most reliable grey coverage, lasting until new growth appears (4-8 weeks depending on hair growth rate). Most people use permanent dyes for complete grey coverage. Brands like L’Oréal Casting Crème Gloss (£5-7), Clairol Natural Instincts (£6-8), and Schwarzkopf Color Ultime (£7-9) are widely available in Boots, Superdrug, and supermarkets across the UK.
Semi-Permanent Dyes
Semi-permanent dyes contain no ammonia or peroxide. They coat the hair shaft and gradually fade with washing, lasting 4-8 weeks. They work best on hair with some pre-existing colour or on those seeking subtle results. For covering 70-100% grey hair, semi-permanents are less effective unless applied repeatedly. However, they’re gentler on already-processed hair and less likely to cause damage.
Demi-Permanent Dyes
A middle ground between permanent and semi-permanent, demi-permanent dyes use minimal peroxide and deposit colour gradually. They cover grey adequately (80-90% coverage after 2-3 applications) and fade gently. Garnier Olia (£6-8) and Wella Colour Touch (£8-10) are demi-permanent options suited to those wanting less commitment than permanent colour.
What the Pros Know: Salons often use permanent dyes with lower processing volumes (10-15 volume) rather than the standard 20-30 volume in at-home kits. Lower volume means gentler processing but potentially less coverage. To replicate this at home, process for the minimum recommended time rather than the maximum. If coverage is insufficient after the first application, wait 2 weeks and apply again rather than processing longer on the first attempt.
Choosing Your Colour Shade
Assessing Your Natural Base Colour
Your natural hair colour beneath the grey determines which shade works best. If you have dark hair with grey streaks, your base is likely medium brown to black. If your hair is light brown or blonde with grey, your base is lighter. At-home dyes perform most predictably when you select a shade matching your natural base colour or 1-2 shades lighter.
Shade selection is critical because grey hair has no pigment. A permanent dye applied to grey doesn’t mix with pre-existing colour—it simply deposits the new shade. This means grey will take colour exactly as the box shows, while your non-grey hair (if you have significant regrowth from a previous colouring) will appear slightly different. Professional stylists account for this by using different processing times on grey versus non-grey sections. You can too.
Cool vs. Warm Tones
Hair colours have undertones. Cool tones (ash blonde, cool brown, black) suit people with cool undertones in their skin (pink, red undertones). Warm tones (honey blonde, warm brown, chocolate) suit warm undertones (golden, olive skin). Most dye boxes include a shade guide showing the result on different hair types. Study this carefully—a shade that looks perfect on someone with dark skin may appear off on light skin and vice versa.
Essential Equipment and Supplies for Home Dyeing
Before opening the dye box, gather these items. Most are reusable and cost under £25 total if purchased new, though many people already own them:
- Plastic mixing bowl: Never use metal (it reacts with dye chemicals). Cost: £2-4.
- Plastic or silicone applicator brush: Allows precise application. Cost: £3-6.
- Sectioning clips: 4-6 clips divide hair into manageable sections. Cost: £2-5.
- Protective barrier cream: Petroleum jelly or a specific edge-control product prevents staining on the scalp and hairline. Cost: included in most dye kits or £2-4 separately.
- Old towel or cape: Dye stains permanently. Don’t use anything you care about. Cost: £0 (reuse an old towel).
- Disposable gloves: Always included in dye kits. Cost: included.
- Comb: For detangling and sectioning. Cost: £1-3.
- Hair clips or bands: Hold sections in place while working. Cost: £1-2.
- Timer: Crucial for processing time. Cost: £0 (use your phone).
- Mirror: Handheld mirrors help see the back of your head. Cost: £2-5.
Preparation: The Steps Before You Open the Dye
The 48-Hour Patch Test
Always perform a patch test, even if you’ve used the same brand before. Mix a small amount of dye (about 1 teaspoon) and apply behind your ear or on a hidden section of scalp. Wait 48 hours. If no itching, burning, swelling, or rash appears, proceed. This step prevents allergic reactions, which affect roughly 1-2% of users but can be severe. The patch test takes 2 minutes to apply and 48 hours to assess—it’s the cheapest insurance against a bad outcome.
Hair Preparation in the Days Before
Dye adheres better to clean hair with natural oils intact. Wash your hair 1-2 days before dyeing (not the same day). This removes product buildup but allows natural oils to resurface. Condition thoroughly during this wash, especially if your hair is dry or previously dyed. Don’t use intense treatments like keratin or protein masks in the week before dyeing—they can create a barrier preventing dye penetration.
Detangle and Section
On the day of dyeing, detangle your hair completely using a conditioner or leave-in spray. Divide damp hair into 4-6 sections using clips, depending on hair thickness. Generally: part the hair from forehead to nape, then from ear to ear. This creates quadrants. If your hair is very thick, subdivide each quadrant. Thinner hair needs fewer sections. The goal is sections thin enough that you can see the dye penetrating all strands.
Step-by-Step Application Process
Preparing the Dye Mix
Read the instructions twice before starting. Mix the dye and developer exactly as specified—the ratios are precise. Use a plastic bowl and applicator brush. Some kits come with a nozzle bottle; others require mixing in a separate bowl. Work in a well-ventilated area (open a window). The chemical smell is normal but shouldn’t be overwhelming. If fumes are intense, open another window or take a brief break outside.
Applying to Roots First
Start with roots, not ends. Roots require the most processing time because they’re closest to the scalp’s heat, which accelerates the dye reaction. Unclip your first section. Using the applicator brush, saturate the roots (approximately the first 1-1.5 inches) with dye. Work the dye into the scalp thoroughly without scratching. Massage gently to ensure all roots receive dye. Move to the next section and repeat. This root-first approach takes 10-15 minutes if you have shoulder-length hair.
What the Pros Know: Roots process faster than lengths because of scalp heat. Professional colorists apply dye to roots for 10-15 minutes, then apply to lengths for the final 10-15 minutes. This prevents roots from over-processing and looking darker than lengths. Mimic this by applying roots first, then returning to your first section after 15 minutes to apply dye to the mid-lengths and ends.
Applying to Mid-Lengths and Ends
After all roots are saturated, return to your first section. Apply dye to mid-lengths and ends, working the brush through the hair to coat every strand. Because these sections receive less heat than roots, they process more slowly. Applying them after roots ensures everything finishes at roughly the same time. Spend 5-10 minutes on this stage, depending on hair length and thickness.
Processing Time Management
Once all hair is coated, set a timer. Processing times typically range from 25-45 minutes depending on the dye and the depth of colour change desired. The box instructions specify exact timing for your brand. Don’t guess or assume. Processing too briefly results in patchy colour and weak coverage of grey. Processing too long risks damage and potentially unwanted colour depth. Most people use 35-40 minutes as a starting point.
Rinsing and Conditioning
When the timer sounds, rinse your hair thoroughly with cool water. Run water through your hair until it runs clear. Use cool water (not hot) because heat opens the hair cuticle and allows dye to escape. Apply the conditioning treatment included in your dye kit, or use your regular conditioner. Leave it on for 2-3 minutes. This seals the colour and restores moisture. Rinse again with cool water and gently squeeze out excess water with a towel.
Drying and Final Assessment
Dry your hair as you normally would. Natural air-drying or blow-drying works equally well. Once completely dry, assess the colour in natural daylight near a window. Indoor lighting can misrepresent colour. In natural light, check that grey is fully covered and the shade matches your expectations. Some colours appear slightly different when completely dry versus wet.
Addressing Common At-Home Dyeing Problems
Patchy Colour or Incomplete Grey Coverage
This usually means dye didn’t fully penetrate, often because hair wasn’t properly sectioned or dye wasn’t worked through thoroughly. If coverage is 70% or better, the next application (4-6 weeks later) will improve it. If coverage is below 70%, you can reapply immediately, but wait at least 7 days to avoid damage. Before the second application, use more sections and spend extra time working the brush through each one.
Colour Too Dark or Too Warm
If your result is darker or warmer than expected, a semi-permanent colour-removing shampoo (available for £4-8 at Boots or Superdrug) can lighten it slightly over 3-4 washes. These won’t remove permanent dye completely but will fade it somewhat. Permanent colour removal requires bleach or professional help. Prevention is better: for first-time applications, choose a shade 1-2 shades lighter than your target and assess before committing to permanence.
Damage, Breakage, or Dryness
Dyed hair requires intense conditioning. Use a deep conditioning mask 1-2 times weekly for the first 4 weeks after dyeing. Avoid heat styling for the first 48 hours after dyeing. Use a heat protectant spray before blow-drying. Trim split ends 4-6 weeks after dyeing because dye can make damaged ends more visible. If your hair feels brittle or breaks easily, space applications further apart—every 6-8 weeks rather than 4-6 weeks.
Maintaining Your Dyed Grey Hair Between Applications
Colour-Safe Hair Care Routine
Permanent dye fades with each wash and exposure to sun. Extend colour longevity by shampooing no more than 2-3 times weekly in the first two weeks, then 2-3 times weekly ongoing. Use colour-safe shampoo and conditioner specifically formulated to preserve dye molecules. Brands like Schwarzkopf Color Save or L’Oréal Colour Protect (£3-6 per bottle) cost only slightly more than regular shampoo but significantly extend colour life. Condition every wash, focusing on mid-lengths and ends.
Sun Protection
UV exposure fades hair colour, especially within the first two weeks after dyeing when the colour is still settling. Wear a hat outdoors in sunny weather or use a UV-protective hair spray (£4-8). This is particularly relevant during UK summers (May-August) when UV intensity peaks.
Root Touch-Ups Schedule
Hair grows approximately 0.5 inches (1.25cm) per month. Most people notice visible root regrowth after 4-6 weeks. Schedule your next dyeing application at this point. Touching up only the roots (a process taking 20-30 minutes) rather than re-dyeing all hair extends the life of your colour and causes less cumulative damage. However, if your previous dye job was only 4 weeks old, your lengths may not yet need re-coating, so focus solely on roots.
Cost Breakdown: At-Home vs. Salon Dyeing in 2026
Let’s compare realistic costs for maintaining one colour shade for a year:
- At-home permanent dye: £8 per box × 6-8 applications yearly = £48-64. Add supplies (one-time £15-25 for clips, brush, bowl) = approximately £65-90 first year, £50-65 subsequent years.
- Professional salon full colour: £60 per application × 6-8 times yearly = £360-480. Add touch-ups at £40 each × 4-6 times yearly = £160-240. Total: £520-720 yearly.
- Professional salon root touch-up: £35 per application × 6-8 times yearly = £210-280. Total: £210-280 yearly (most economical professional option).
At-home dyeing saves £200-500 annually compared to full colour appointments, and £150-230 annually compared to professional root touch-ups. For those on tight budgets, even occasional professional applications (every 3-4 months at £60) combined with home root touch-ups between appointments remains more economical than full professional colour.
Hair Type Considerations
Fine or Thin Hair
Fine hair processes quickly and is prone to damage from chemical dye. Use the minimum recommended processing time and condition intensively afterward. Consider demi-permanent dyes if fine hair feels fragile. Root-to-tip application should take longer (15-20 minutes) because you’ll be working with more sections and greater care.
Thick or Coarse Hair
Thick hair processes more slowly and requires more dye per application. You may need 1.5 boxes instead of one for shoulder-length thick hair. Follow standard processing times but check coverage at the 35-minute mark—thick hair might need the full 45 minutes. Be generous with dye application and ensure every strand is fully saturated.
Previously Dyed or Porous Hair
Previously coloured hair is more porous, meaning dye deposits more readily and colours appear darker. Use a shade 1-2 shades lighter than your target. Processing time may be 5-10 minutes shorter. Consider a demi-permanent dye to prevent over-processing. Deep condition before and after dyeing.
Textured or Curly Hair
Curly hair is often drier and benefits from intensive pre-dyeing conditioning. Use more sections (6-8 instead of 4-6) to ensure even application. Dye can be harder to work through curls, so take extra time during application. The curly structure means dye might not look perfectly uniform—this is normal and often more forgiving than straight hair because the texture naturally creates visual variation.
When to Call a Professional Instead
Some situations warrant professional colouring rather than at-home attempts:
- Hair that’s previously been bleached or lightened to blonde: Re-dyeing blonde hair dark requires colour correction that’s complex at home.
- Attempting a dramatic colour change (e.g., dark brown to platinum blonde): This requires multiple steps and technical skill.
- Hair with severe damage or breakage: Chemical dye on compromised hair risks catastrophic breakage. A professional can assess and advise.
- Allergies or sensitivities to dye components: A dermatologist or professional colorist can recommend hypoallergenic options.
- First time dyeing and anxiety about the process: One professional application can show you exactly what to expect and how results should look.
Quick Tips for Success
- Read instructions twice—don’t skim.
- Do a patch test 48 hours before.
- Use more sections than you think necessary.
- Apply roots first, lengths second.
- Don’t exceed processing time.
- Condition intensively after dyeing.
- Space applications at least 4 weeks apart.
- Protect your clothes with an old towel or cape.
- Work near a window for ventilation.
- Have a mirror and good lighting ready.
FAQ Section
How often can you dye grey hair at home?
Safely, every 4-6 weeks for roots only, or every 8-12 weeks for full re-application. More frequent dyeing damages hair progressively. If you dye every 4 weeks, focus on roots only after the first application to minimise damage to lengths.
Is it cheaper to dye hair at home than at a salon?
Yes. At-home dye costs £6-15 per application versus £35-90 at a salon. Annual savings range from £200-500 depending on how often you dye. The main trade-off is time and the learning curve for at-home applications.
Can you dye grey hair without damaging it?
Chemical dyeing inherently alters hair structure. However, you can minimise damage by using quality dye, conditioning intensively before and after, not exceeding processing time, and spacing applications sufficiently apart. Most people dye their hair at home without significant damage if they follow instructions carefully.
What’s the best dye for covering 100% grey hair at home?
Permanent dyes with a processing volume of 20-30 cover grey most reliably. Brands with strong grey-coverage reputations include L’Oréal Casting Crème Gloss, Schwarzkopf Color Ultime, and Clairol Natural Instincts. These are widely available at UK supermarkets and chemists.
How long do at-home dyed results last?
Permanent dye lasts until new hair grows (4-8 weeks). Colour fades slightly with washing and sun exposure, but roots become visible first. Plan root touch-ups every 4-6 weeks to maintain a polished appearance. Full re-application every 8-12 weeks keeps colour fresh.
Your First At-Home Dyeing Application Awaits
Learning how to dye grey hair at home transforms what might seem like an intimidating process into a straightforward, cost-effective routine. The first application requires patience, careful attention to sectioning, and exact timing. Subsequent applications become faster and easier as you understand your hair’s specific needs. In 2026, home hair dyeing products are safer and more effective than ever. With a dye box costing £8-12 and results rivalling salon work, there’s genuine incentive to give it a try. Pick a quiet evening when you have 90 minutes uninterrupted, gather your supplies, follow the steps precisely, and assess the results in natural daylight. Most people discover that home dyeing, once mastered, becomes a quick, affordable ritual replacing expensive salon visits. Start with a natural shade close to your base colour to minimise risk. Success builds confidence, and confidence allows you to experiment with colours you’ve only imagined.