Contents:
- The Hidden Art of Textured Hair
- Understanding Hair Texture: What You’re Actually Creating
- Method 1: Heatless Braiding Techniques
- Dutch Braids for Defined Waves
- Micro Braids for Textured Layers
- Method 2: Salt Spray Application
- Creating Salt Spray at Home
- Best Practices for Salt Spray Texture
- Method 3: Heat-Based Styling Techniques
- Blow-Dry Technique for Texture and Volume
- Crimper Tools for Pronounced Texture
- Method 4: Chemical Texturising Treatments
- Professional vs. At-Home Perms
- Texturising Relaxers for Loose Definition
- Common Mistakes to Avoid
- Selecting the Right Method for Your Hair Type
- Fine or Thin Hair
- Thick or Dense Hair
- Curly or Naturally Textured Hair
- Products That Support Texture Creation
- Timeline and Durability Expectations
- Frequently Asked Questions
- How long does it take to texture hair at home?
- Will texturising damage my hair?
- Can I texture very short hair?
- How do I remove unwanted texture from my hair?
- Is it better to texture dry or damp hair?
- Taking Your Hair Further: Next Steps
Quick Answer
Texture hair using braiding, salt spray, blow-drying techniques, or chemical treatments like perms. Results depend on your hair type and the method chosen. Most DIY approaches cost £5-£40 and take 30 minutes to several hours.
The Hidden Art of Textured Hair
In the 1970s, textured hair became a cultural statement. People across the world embraced waves, curls, and crimped styles as acts of self-expression and rebellion against rigid beauty standards. Today, creating texture isn’t about making a political statement—it’s simply one of the most practical ways to add volume, movement, and dimension to your hair. What took professionals hours to achieve now lies within reach of anyone willing to learn the techniques.
Understanding Hair Texture: What You’re Actually Creating
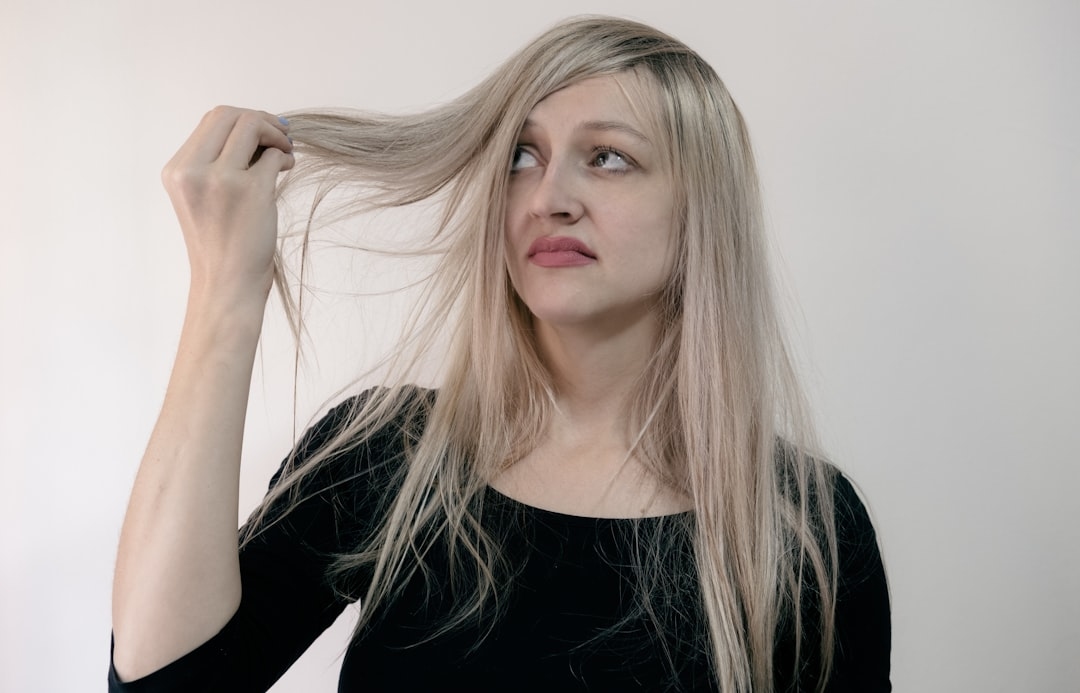
Texture refers to the pattern and pattern of waves, curls, or defined sections in your hair shaft. Your natural texture exists on a spectrum from straight (Type 1) through wavy (Type 2), curly (Type 3), and coily (Type 4). Textured hair reflects light differently than smooth hair, which creates visual depth and movement. Before attempting any method, assess your starting point. Straight hair responds differently to heat and chemicals than naturally wavy hair. Fine hair requires gentler handling than thick, coarse strands.
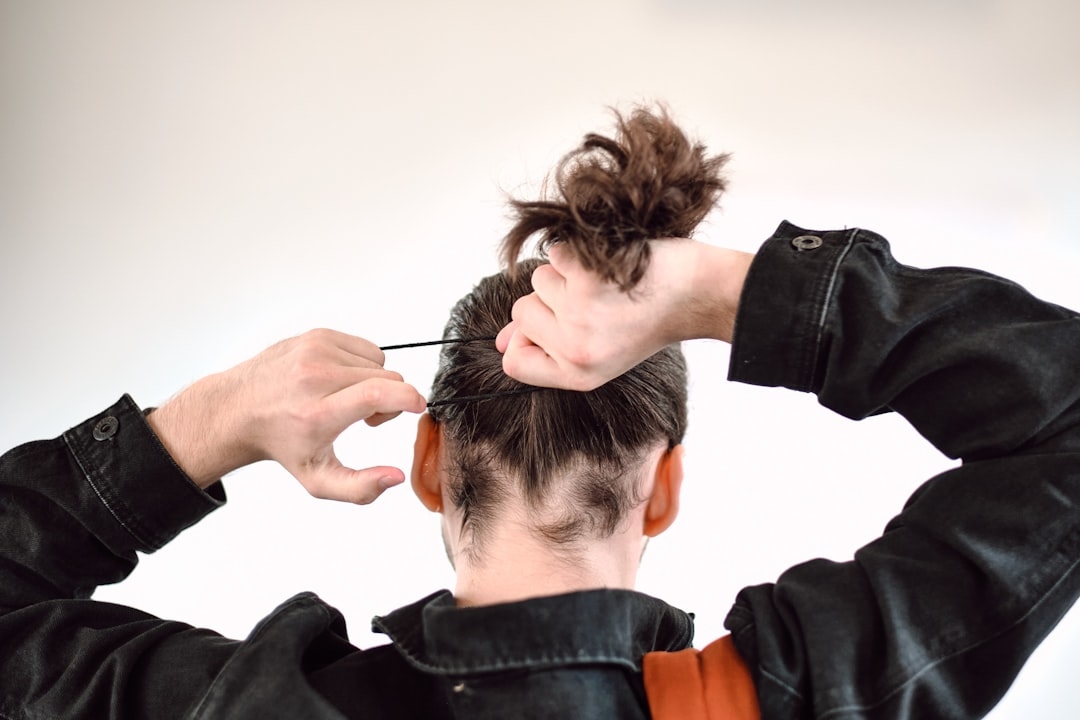
Method 1: Heatless Braiding Techniques
Braiding remains the most accessible and damage-free approach to creating temporary texture. The principle is simple: your hair sets into the pattern created by the braid, holding that shape when released. This method works best on damp hair and produces results lasting 2-5 days depending on hair type.
Dutch Braids for Defined Waves
Dutch braids create tighter, more pronounced waves than French plaits. Begin with damp hair and divide your head into 2-3 sections. Start each braid at the crown and work downward, pulling the sections tightly and consistently. Braid all the way to the ends and secure with elastics. Leave the braids in overnight or for at least 8 hours. When you release them, you’ll have structured waves with definition. For finer waves, sleep in the braids lightly dampened rather than soaking wet.
Micro Braids for Textured Layers
Create dozens of thin braids throughout your hair for a textured, almost crimped appearance. This labour-intensive method produces more uniform texture across your whole head. Use hair sectioning clips to keep unstyled hair separate. Braid each small section, securing the end with tiny elastics. Leave in place for 8-12 hours. The results look particularly striking on medium to long hair and last 3-4 days before gradually relaxing.
Method 2: Salt Spray Application
Salt spray mimics the texture created by sea salt and sun exposure, giving hair a tousled, beachy appearance. This method works particularly well on naturally wavy hair and those seeking loose, undone texture rather than defined curls.
Creating Salt Spray at Home
Mix 2-3 teaspoons of sea salt into 500ml of warm water in a spray bottle. Add 3-4 drops of coconut oil or lightweight hair oil to prevent dryness. Shake thoroughly before each use. Spray liberally onto damp hair, working section by section. Scrunch your hair upward toward the roots while the spray is still wet. Allow it to air-dry completely or speed up the process with a diffuser attachment on low heat. The texture sets as the salt dries and your hair cools.
Best Practices for Salt Spray Texture
Apply salt spray to second-day hair for enhanced grip and longer-lasting texture. Use on hair already tousled or with slight waves—salt spray works as an amplifier rather than a creator from scratch. Very fine hair may feel sticky or weighed down, so test on a small section first. The texture lasts 1-3 days before gradually softening. Reapply spray as needed to refresh.
Method 3: Heat-Based Styling Techniques
Heat styling allows you to create defined texture on demand. Different tools produce different results: blow-dryers create volume and movement, straighteners produce deliberate waves, and curling irons form distinct curls or crimps. Heat styling works on all hair types but requires products to protect against damage.
Blow-Dry Technique for Texture and Volume
Use a medium heat setting (around 70°C) with a concentrator nozzle. Section your hair and blow-dry each section upward and away from the scalp using a round brush. Keep the dryer moving to avoid damaging any single section. This creates lifted roots and a textured appearance with subtle waves. The texture holds better when you apply a volumising mousse or light heat protectant spray beforehand. Results last until your next wash.
Crimper Tools for Pronounced Texture
Crimpers create tight, zigzag texture instantly. These tools cost £8-£25 and work on nearly every hair type. Section your hair into 2-inch sections. Apply a heat protectant spray, then clamp the crimper down the hair shaft, moving from roots to ends. Hold each section for 3-5 seconds. For full-head texture, crimping all sections takes 20-30 minutes. This texture holds until you wash your hair or run your fingers through it repeatedly. Crimped texture works particularly well under braids or with casual hairstyles.
Method 4: Chemical Texturising Treatments
Perms and texturising relaxers chemically alter your hair’s structure, creating permanent or semi-permanent texture. These methods produce lasting results (6-12 weeks) but carry higher risks of damage if applied incorrectly.
Professional vs. At-Home Perms
Professional perms in UK salons cost £40-£80 depending on hair length and desired texture. At-home perm kits cost £12-£25 but require careful application. The chemical process breaks and reforms hydrogen bonds in your hair, setting new patterns. Processing time varies: loose waves require 15-20 minutes under processing solution, while tighter curls need 25-35 minutes. Timing accuracy matters enormously—under-processing leaves minimal texture, whilst over-processing damages hair severely.
Texturising Relaxers for Loose Definition
Texturising relaxers work differently from straightening relaxers. They slightly loosen natural curl patterns whilst maintaining body and texture. These products cost £10-£20 and produce results lasting 8-10 weeks. Application requires sectioning and careful timing (usually 10-15 minutes). The result is softer, more manageable hair with visible texture and movement retained.

Common Mistakes to Avoid
Many people damage their hair or achieve disappointing texture by making preventable errors. Applying salt spray to already-dried hair won’t create texture—damp application is essential for it to set properly. Leaving braids in too briefly (less than 6 hours) produces weak, temporary waves that drop out immediately. When using heat tools, skipping heat protectant sprays causes brittleness and breakage. Overlapping perm solution during application creates uneven, patchy texture with damaged sections. Testing products on a small, hidden section first prevents unexpected colour changes or texture mishaps affecting your whole head. Rushing chemical treatments leads to poor results and damaged hair that requires professional corrective work.
Selecting the Right Method for Your Hair Type
Fine or Thin Hair
Lightweight methods work best: loose braids, salt spray with minimal product, and low-heat blow-drying. Avoid heavy crimping or tight braids that flatten hair. Chemical treatments should use gentle formulas designed for fragile hair.
Thick or Dense Hair
Your hair holds texture exceptionally well. Tight braids, generous salt spray application, and higher-heat blow-drying all produce lasting results. Chemical treatments work predictably and durably on thick hair due to its density and resilience.
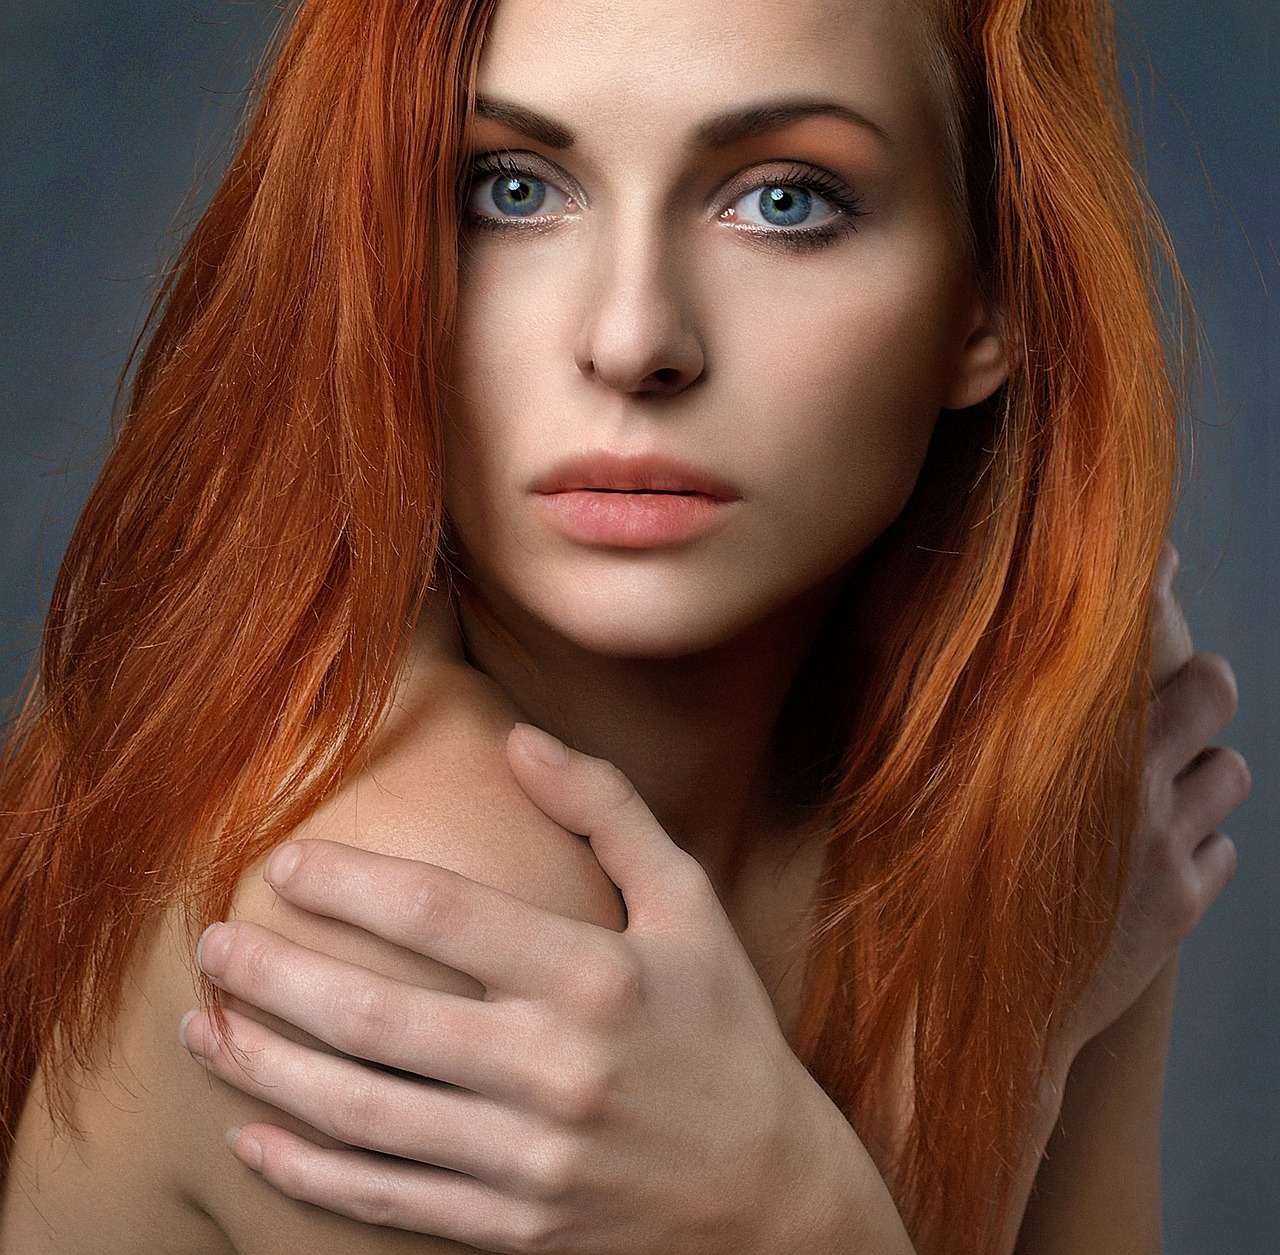
Curly or Naturally Textured Hair
Your existing texture responds well to enhancement methods. Salt spray amplifies your natural waves. Braids create distinct patterns rather than introducing new texture. Chemical texturising products can loosen overly tight curls. Heat tools should use lower settings and heat protectant sprays religiously.
Products That Support Texture Creation
Investing in supporting products improves results significantly. Sea salt sprays (£5-£12 per bottle) create texture; coconut oil-based versions offer better conditioning. Heat protectant sprays (£4-£10) are essential before any heat styling. Volumising mousse (£3-£8) provides grip for blow-drying. Light oils and serums (£6-£15) prevent dryness when using texture-creating methods repeatedly. For chemical treatments, after-care products like strengthening treatments (£8-£20) and moisture masks (£5-£15) maintain hair health during the 6-12 week adjustment period.
Timeline and Durability Expectations
Different methods produce texture lasting varying lengths. Braids hold 2-5 days before gradually relaxing. Salt spray texture lasts 1-3 days and weakens with humidity or physical activity. Heat-styled texture holds 1-2 days, fading after brushing or sleeping. Crimped texture persists 1-2 days and survives brushing better than other temporary methods. Chemical perms and texturising treatments last 8-12 weeks, gradually growing out as new, untreated hair emerges. Understanding these timeframes helps you plan which method suits your lifestyle.
Frequently Asked Questions
How long does it take to texture hair at home?
Braiding takes 15-30 minutes. Applying salt spray takes 10-15 minutes. Blow-drying with texture takes 20-30 minutes depending on hair length. Crimping takes 20-40 minutes for full-head coverage. Chemical treatments (perms or relaxers) take 1-2 hours including processing time and rinsing.
Will texturising damage my hair?
Heatless methods (braids, salt spray on damp hair) cause minimal damage. Heat styling with protectant products causes minor damage with regular use. Chemical treatments cause moderate damage if applied correctly; improper application causes severe damage. All methods require proper aftercare—conditioning masks, protein treatments, and heat protectant products maintain hair health.
Can I texture very short hair?
Braids work poorly on hair shorter than 5-10cm. Salt spray creates subtle texture on short hair but won’t produce dramatic results. Heat tools and crimpers work effectively on short hair and actually create more noticeable texture on shorter lengths. Chemical treatments work on short hair but require precise application.
How do I remove unwanted texture from my hair?
Temporary texture (braids, salt spray, heat-styled) removes naturally over 1-5 days with brushing and washing. Chemical texture can be softened but not fully removed until new growth appears. Protein treatments and deep conditioning help relax harsh texture slightly. If results are severely unsatisfactory, professional colour correction or treatment services (£50-£150+) may be necessary.
Is it better to texture dry or damp hair?
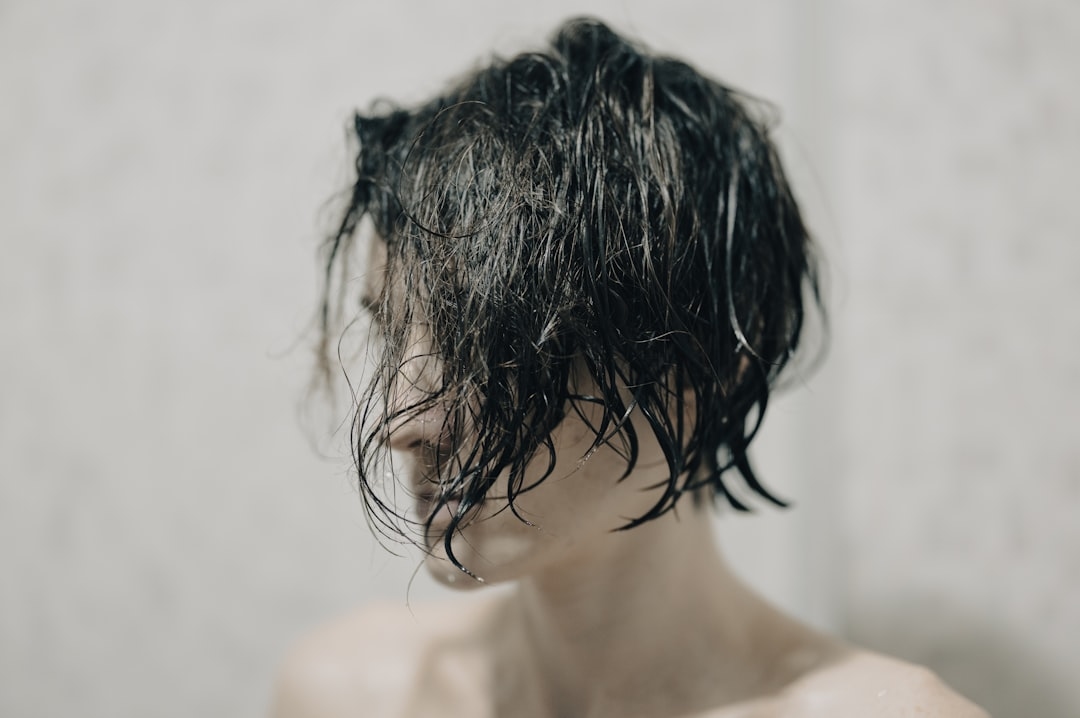
Damp hair accepts braids and salt spray best, setting texture as it dries. Heat tools (blow-dryers, crimpers, straighteners) work on both damp and dry hair but produce crisper results on slightly damp hair. Chemical treatments require clean, dry hair for even application and consistent results. The optimal moisture level depends on your chosen method.
Taking Your Hair Further: Next Steps
Start with a single method suited to your hair type and lifestyle. Braiding requires minimal investment and zero risk—perfect for first-time texture creation. Once you’ve experimented and found your preferred texture style, explore supporting products that enhance results. Document what works: which braiding pattern, salt spray concentration, or heat setting produces your desired outcome. Your hair responds uniquely to each method based on its density, porosity, and natural texture. Success comes from personalising techniques through experimentation, not following generic instructions. The texture you create becomes part of your regular styling toolkit, adding dimension and movement to your appearance with minimal fuss once you’ve perfected your method.