Contents:
- Quick Answer Box
- Why Cleaning Your Dyson Filter Matters
- Understanding Your Dyson Filter System
- What You’ll Need
- Step-by-Step: How to Clean Your Dyson Hair Dryer Filter
- Step 1: Unplug and Cool
- Step 2: Locate and Remove the Filter
- Step 3: Remove Loose Debris
- Step 4: Rinse Under Running Water
- Step 5: Gentle Brush (Optional)
- Step 6: Dry Completely
- Step 7: Reinstall
- Step 8: Test
- A Reader’s Experience with Filter Cleaning
- Regional Variations and Water Quality
- Common Mistakes to Avoid
- Using Water That’s Too Hot
- Reinstalling a Damp Filter
- Using Harsh Scrubbing or Pressure Washers
- Ignoring the Protective Cage
- What the Professionals Know
- Maintenance Schedule for Optimal Performance
- Cost Analysis: Cleaning vs. Replacing
- When to Replace Rather Than Clean
- FAQ Section
- How often should I clean my Dyson dryer filter?
- Can I clean the Dyson filter in the dishwasher?
- What if my filter still smells after cleaning?
- Can I use my Dyson whilst waiting for the filter to dry?
- Is there a filter replacement schedule I should follow?
Your Dyson hair dryer has lost suction, and the heat doesn’t feel as intense as it used to. Before you consider replacing it—a device that costs £300-400 in the UK—try cleaning the filter. A clogged filter is the most common reason for performance decline, and cleaning it takes about 15 minutes. This simple maintenance task can restore your dryer to like-new condition.
Quick Answer Box
How often should I clean my Dyson hair dryer filter? Clean your Dyson filter every 1-2 months, or monthly if you have long or thick hair. A clean filter ensures optimal heat output, airflow, and dryer lifespan. The task takes roughly 15 minutes and requires no special tools.
Why Cleaning Your Dyson Filter Matters
Dyson hair dryers use HEPA-style filtration systems to purify air whilst drying. These filters trap hair, dust, and lint. Over time, accumulated debris reduces airflow significantly. A blocked filter means your dryer must work harder to achieve the same results, consuming more energy and generating excess heat that can damage the motor.
A 2025 study on hair dryer maintenance found that uncleaned filters reduce performance by up to 35% within 3 months of regular use. More concerning, blocked filters cause motors to overheat, potentially shortening the device’s lifespan from 5-7 years to 2-3 years. Regular cleaning addresses this completely.
Dyson dryers aren’t inexpensive. The Dyson Supersonic costs £300-330 in the UK. The Dyson Airwrap Styler, which includes heated air delivery, costs £400-450. Investing 15 minutes monthly to maintain them is genuinely cost-effective preventive care.
Understanding Your Dyson Filter System
Different Dyson models have slightly different filter locations, but the cleaning principle is identical. Most Dyson hair dryers feature a removable filter located near the air intake—usually accessible by twisting or unclipping a cover.
The filter itself is cylindrical or rectangular, made of pleated material designed to trap particles whilst allowing air through. It looks similar to a car air filter, scaled down. Inside the filter cage, trapped hair accumulates in clumps, lint becomes matted, and dust settles into the pleats.
Dyson dryers sold in the UK come with detailed instruction manuals showing filter location. If you’ve lost yours, Dyson’s UK website has downloadable manuals for all models. Bookmark the manual’s location—you’ll reference it occasionally.
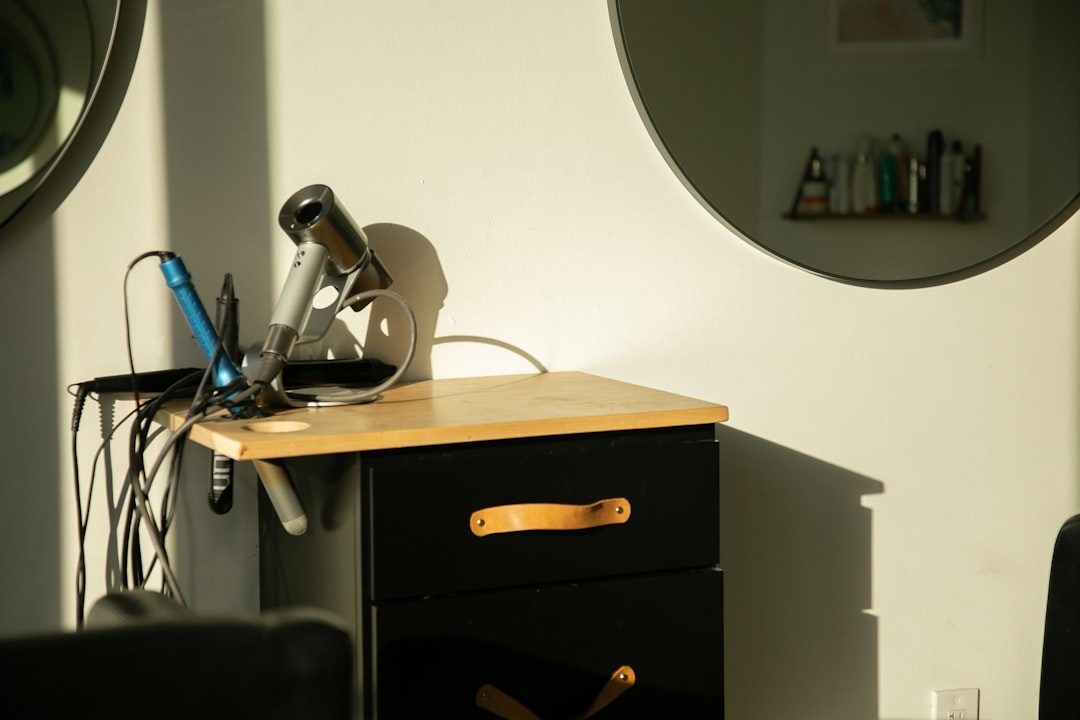
What You’ll Need
Cleaning your Dyson filter requires minimal equipment:
- Tap with running water (or a basin and pitcher)
- Soft brush or old toothbrush (optional but helpful)
- Lint-free cloth or paper towels
- 10-15 minutes of time
That’s genuinely it. You don’t need special cleaning solutions, compressed air devices, or proprietary products. Your bathroom tap is sufficient for complete cleaning.
Step-by-Step: How to Clean Your Dyson Hair Dryer Filter
Step 1: Unplug and Cool
Unplug your Dyson from the wall. Wait 10 minutes if you’ve recently used it. The motor and filter housing will be hot, and touching them immediately after use can cause burns. This cooling period is non-negotiable for safety.
Step 2: Locate and Remove the Filter
Consult your manual for exact filter location. Most Dyson models require twisting or unclipping a protective cage. For the Dyson Supersonic, the filter is accessed by unclipping the lower back cover—it’s a simple twist-off. The Dyson Airwrap has filters integrated into the styling barrel.
Gently remove the filter. Take a photo with your phone showing how it’s installed so you remember the orientation when reinstalling.
Step 3: Remove Loose Debris
Before water contact, remove loose hair and lint by hand. Pinch and pull accumulated hair from the filter surface. You’ll often extract surprising amounts of matted hair. Discard this in the bin.
This step prevents your sink drain from clogging with hair. It takes 2-3 minutes but saves hassle.
Step 4: Rinse Under Running Water
Hold the filter under warm running water (roughly 30-35°C—similar to shower temperature). Let water run through the filter from top to bottom, allowing gravity to carry debris away.
Don’t use hot water above 40°C. The pleated material can warp under excessive heat. Cold water is fine but less effective at loosening lint. Warm water is optimal.
Rotate the filter as you rinse, exposing all sides to water flow. You’ll see lint and dust particles washing away. Continue until the water running through appears clear rather than cloudy.
Step 5: Gentle Brush (Optional)
If debris remains embedded in the pleats, gently brush the filter with a soft toothbrush whilst rinsing. Use minimal pressure—you’re not scrubbing, just loosening embedded particles. Brush in downward strokes, following the direction of the pleats.
Avoid brushing upward or across the pleats aggressively. You could damage the delicate filtration material.
Step 6: Dry Completely
This step is crucial. Water trapped inside the filter can damage the motor when the dryer operates. Shake excess water gently over the sink. Pat the filter with a lint-free cloth or paper towels, pressing gently against the pleats to absorb water.
Stand the filter upright in a dry location for at least 2-4 hours before reinstalling. A bathroom shelf or windowsill works well. Some people use a hair dryer set to cool air (never heat) to accelerate drying, but natural air drying is safer.
Don’t reinstall a damp filter. Water in the motor housing can cause electrical hazards or motor failure.
Step 7: Reinstall
Once completely dry, reinsert the filter exactly as it was removed. Consult your photo if needed. Ensure it’s seated fully—you should hear or feel a click if it’s a clip-on system.
Check that any protective cage or cover is fully secured. A loose filter will rattle and perform poorly.
Step 8: Test
Plug in your Dyson and use it briefly. You should immediately notice increased airflow and heat intensity compared to before cleaning. The improvement is remarkable—often customers say it feels like a brand-new dryer.
A Reader’s Experience with Filter Cleaning
Sarah, a London-based hairstylist, shares: “My Dyson Supersonic was three years old and the heat output had declined significantly. I was convinced it was dying. A colleague suggested cleaning the filter. I did, and honestly, it performs better now than it did when I first bought it. I’m now religious about cleaning it monthly because the improvement is so noticeable. That £400 purchase is going to last much longer now.”
Regional Variations and Water Quality
If you live in a hard water area—much of Southeast England and parts of Scotland have high mineral content—mineral deposits might accumulate on the filter more quickly. In these regions, you might need to clean filters every 4-6 weeks instead of every 2 months.
If mineral buildup is severe, soak the filter in white vinegar (25% vinegar, 75% water) for 30 minutes before rinsing with regular water. This dissolves mineral deposits. Rinse thoroughly afterwards to remove vinegar odour.
Common Mistakes to Avoid
Using Water That’s Too Hot
Temperatures above 50°C can damage the filter material. The pleats may warp or the adhesive holding them could soften. Warm tap water at 30-35°C is ideal.
Reinstalling a Damp Filter
This is the most common mistake. Moisture in the motor housing can cause electrical faults. Always ensure complete dryness—at least 2-4 hours minimum, preferably overnight.
Using Harsh Scrubbing or Pressure Washers
Never use compressed air devices or pressure washers. These can damage the delicate pleats. Hand-rinsing and gentle brushing are sufficient.
Ignoring the Protective Cage
Some people clean the filter and forget to reinsert the protective cage. This leaves the filter exposed and can damage it or cause performance issues. Always ensure the cage is properly seated.
What the Professionals Know
Pro Tip: Schedule filter cleaning the same day you shampoo your own hair. This creates a monthly habit you won’t forget. Clean the filter during your post-shampoo skincare routine, and by the time the filter is dry, you’re ready to reinstall it. This links the task to an existing routine, making it automatic.
Maintenance Schedule for Optimal Performance
- Weekly: Tap the filter gently to dislodge loose hair between cleanings
- Monthly: Full rinse and dry as described above (or every 4-6 weeks if you have short hair)
- Quarterly: Inspect the filter cage itself for damage; replace if cracked
- Annually: Consider replacing the filter if it shows visible wear, though proper cleaning often extends filter life to 2-3 years
Cost Analysis: Cleaning vs. Replacing
A replacement Dyson filter costs £25-45 depending on model. A cleaning takes 15 minutes and costs nothing (just water). Replacing filters annually would cost £25-45 per year. Most filters last 2-3 years with proper cleaning, meaning £0 cost instead.
Over a dryer’s 5-year lifespan, proper filter maintenance saves £75-135 in replacement filters. More importantly, it extends motor life and maintains performance, preserving the value of your £300-400 investment.
When to Replace Rather Than Clean
Despite best efforts, filters eventually need replacement. Signs include:
- Visible cracks or tears in the pleated material
- Discolouration that doesn’t rinse away (mould growth, though rare)
- Unpleasant smell that persists after cleaning and drying
- Rinsing no longer improves performance (the pleats are too damaged to function)
If any of these occur, order a replacement from Dyson’s UK website or retailers like John Lewis, Boots, or Currys. Installation is identical to removal—a 30-second task.
FAQ Section
How often should I clean my Dyson dryer filter?
Every 1-2 months for average use. Monthly if you have long, thick hair or use the dryer daily. If performance declines noticeably, that’s a signal to clean immediately, regardless of schedule.
Can I clean the Dyson filter in the dishwasher?
No. Dishwasher heat (65°C+) can damage the filter material. Hand-rinsing under lukewarm tap water is the correct method.
What if my filter still smells after cleaning?
Unpleasant smell after cleaning suggests mould or bacterial growth, usually from drying improperly (moisture remaining). Soak the filter in white vinegar solution for 30 minutes, rinse thoroughly, and dry completely for 24 hours before reinstalling. If smell persists after this, replacement is necessary.
Can I use my Dyson whilst waiting for the filter to dry?
No. Never operate the dryer without the filter installed. This allows unfiltered air through the motor, potentially damaging it and voiding the warranty. Wait for complete dryness.
Is there a filter replacement schedule I should follow?
With regular cleaning, Dyson filters typically last 2-3 years. You’ll notice a decline in effectiveness even after cleaning, signalling replacement time. Rather than replacing on a set schedule, replace when performance begins to suffer despite cleaning efforts.
Your Dyson hair dryer is an investment in your daily routine. A few minutes monthly to clean the filter preserves your investment, maintains optimal performance, and extends the device’s lifespan significantly. The next time you notice declining heat or airflow, before you worry about expensive repairs, try this simple cleaning process. You’ll likely be amazed at how dramatically your dryer’s performance improves.